Learning how to winterize garden hose systems isn’t just about protecting your plumbing—it’s about keeping your dog’s outdoor water supply safe and easy to reach when temperatures drop. A hose that freezes can split, leak, or lock onto the spigot, turning a simple refill into a frustrating icy mess.
For pet owners, that also means fewer clean water refills, frozen paw-rinse stations, and potential damage to outdoor bowls or heated waterers. The good news? Winterizing takes about 20 minutes. Let’s walk through exactly what to do, what to avoid, and how to protect the water sources your pets rely on all winter.
🔑 How to Drain and Store a Garden Hose for Winter
Water expands by roughly 9% when it freezes. If you leave a garden hose full of water over winter, that expansion can split the inner lining, crack the fittings, or weaken the hose walls.
By spring you may be dealing with a hose that leaks at every connection, or worse, a burst spigot behind the wall. Repairs are costly, but for pet owners the bigger issue is losing a reliable outdoor water source right when kennels, runs, and outdoor bowls need regular rinsing.
A damaged hose also creates slippery hazards. Slow leaks near a dog run or kennel can freeze into icy sheets that are dangerous for both you and your pet. Winterizing now keeps outdoor pet watering stations functional and reduces slip risks around gates, wash stations, and exercise areas.
Here’s what proper hose winterization protects for pet owners:
- Water bowls and troughs: You keep a stable supply for refilling and refreshing outdoor drinking water.
- Cleaning stations: You can still rinse muddy paws, crates, and food mats without fighting a cracked hose.
- Mold and mildew prevention: A damp coiled hose stored in a shed can grow bacteria and mold. If you use that same hose to fill pet bowls, you risk contaminating drinking water.
Draining and drying the hose before storage takes a few minutes. It’s one of the easiest ways to protect both your equipment and your pet’s daily hydration routine.
📌 Essential Tools and Supplies for Garden Hose Winterization
You don’t need a full workshop to winterize a garden hose properly, but a few basics make the job much easier. Start with an adjustable wrench or slip-joint pliers to disconnect the hose from the spigot without damaging the brass fitting. You’ll also want to remove the nozzle and set it aside, plus have a hose reel or wall hanger to keep the hose off frozen ground.
For cleaning, grab a bucket, mild dish soap, and a soft brush. If your hose doubles as a pet water source, skip harsh detergents or bleach. Pet-safe cleaners—like castile soap or a diluted white vinegar solution—rinse away residue that could upset a dog’s stomach or irritate skin.
You’ll also need a storage bag or plastic bin with a lid to keep dirt, spiders, and rodents out during winter. In very cold climates, add foam pipe insulation for exposed spigots. Some pet owners prefer a heated hose for outdoor water bowls, but that’s an optional upgrade, not a winterizing must.
Before you put anything away, make sure your indoor or shed storage space has:
- Room for the hose to hang in loose coils, not sharp kinks
- A dry floor or shelf off concrete
- No direct heat sources or pest access
- Space to keep the nozzle and washers together in a labeled bag
That way, spring setup takes five minutes instead of a frustrating hunt.
📌 Step-by-Step Guide to Draining and Disconnecting Your Garden Hose
Start by turning off the outdoor water supply at the spigot or shut-off valve. Unscrew the hose from the spigot, then disconnect any attachments on the far end. Leaving a spray nozzle attached traps water where it freezes first.
- Turn off the water and disconnect everything. Close the outdoor spigot fully, then unscrew the hose from the spigot and from any nozzle, splitter, or timer.
- Elevate one end and walk the hose. Hold one end above your head or set it on a raised surface, then walk slowly toward the other end. This pushes residual water out the low end instead of leaving it trapped in coils.
- Remove fittings before storage. Take off spray nozzles, quick-connect fittings, and splitters. These hold small amounts of water and can crack when frozen.
- Inspect the full length. Look for cracks, bulges, soft spots, or drips near the fittings. Small pinholes can sometimes be repaired with a hose mender, but larger splits or a brittle jacket usually mean it’s time to replace the hose.
- Dry the exterior. Wipe the hose down with an old towel so it goes into storage dry. This reduces the chance of ice forming on the surface or inside the fittings while the hose is coiled.
If you use a hose reel, drain the hose while it’s still uncoiled. Then coil it loosely and bring it indoors or into a shed for the winter. This keeps the hose from becoming a moldy or brittle hazard near your pet’s outdoor water bowl or play area.
🔍 Best Storage Practices to Prevent Freezing Damage
Where you put the hose matters just as much as draining it. Even a small amount of trapped water can split the hose lining if it freezes, so storage above 32°F is the safest bet. I keep mine in a heated garage or basement closet.
- Coil loosely without kinks. Tight coils stress the outer jacket and can crack in cold weather. Secure the loops with hook-and-loop straps, not wire or plastic zip ties, which bite into the rubber.
- Store above freezing. A heated garage, basement, or insulated shed works best. If you only have an unheated space, bring the hose indoors or wrap it in a moving blanket as a short-term buffer.
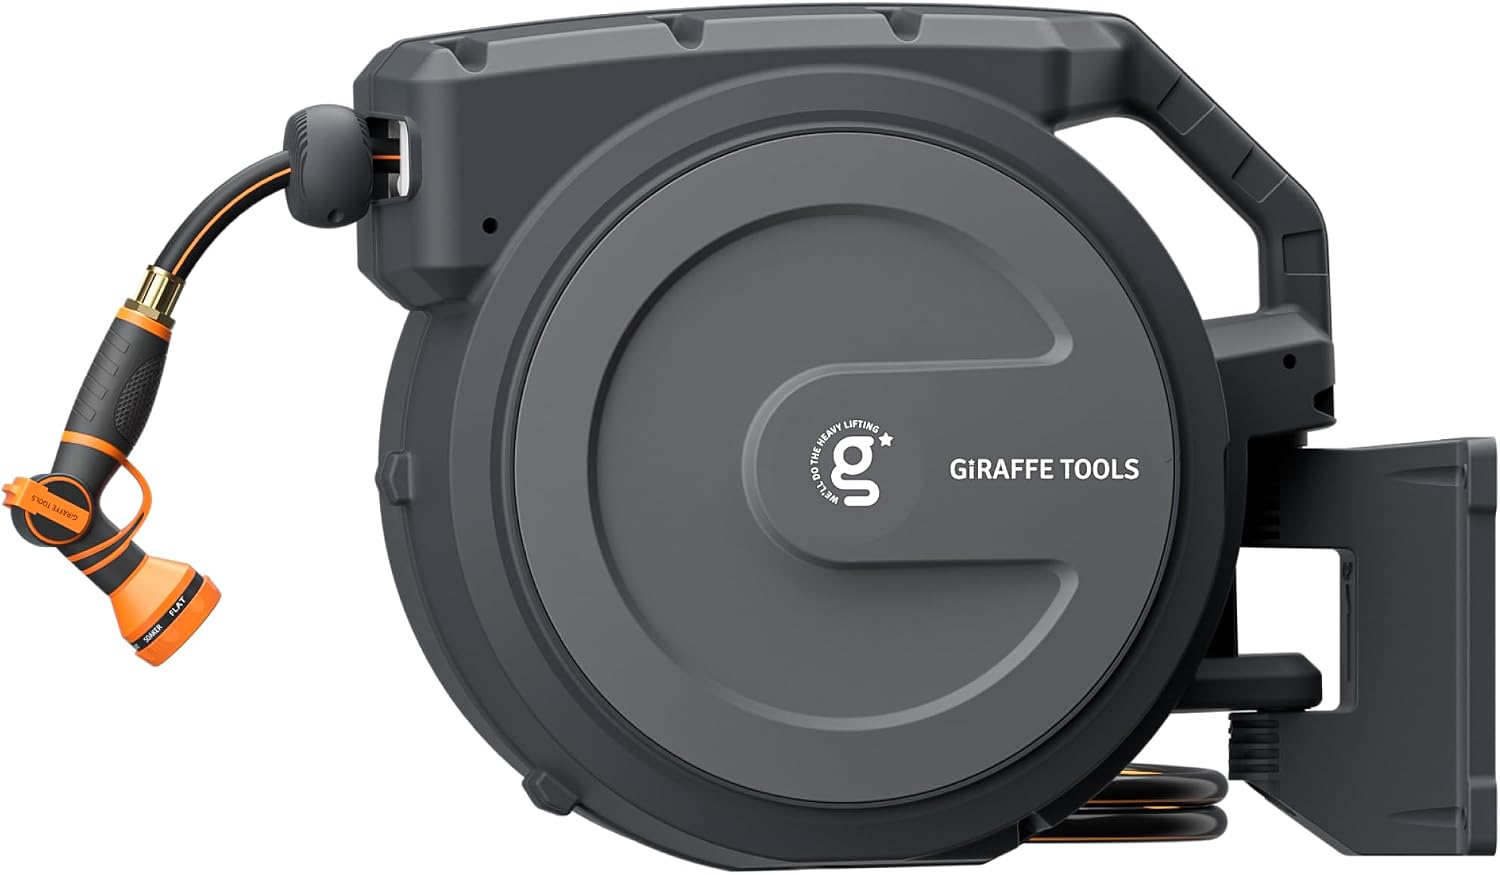
- Use a hose reel or wall hanger. This keeps the loops even, prevents kinks, and reduces tripping hazards for you and your pets. It also keeps the hose off the floor.
- Avoid concrete floors. Cold and moisture accumulate there, which can speed up rubber deterioration. Hang the hose or set it on a wooden shelf or pallet instead.
- Label pet-water vs chemical hoses. If you use one hose for filling pet bowls and another for fertilizers or pesticides, mark them clearly. Colored hook-and-loop straps or waterproof tags help prevent dangerous cross-contamination.
📌 Protecting Outdoor Pet Water Sources in Winter
After you’ve drained and disconnected the main garden hose, don’t overlook the supply lines that fill outdoor dog bowls, chicken waterers, or livestock troughs. Any hose still connected to a water source can freeze and split in the same way as your garden hose. Drain those lines fully, coil them loosely, and store them indoors or in a dry shed.
If your pets must have outdoor water all winter, switch to an insulated bucket or a heated bucket. Heated buckets typically plug into a GFCI-protected outdoor outlet and use a thermostat to keep water just above freezing. Pair one with a heated hose if you need to run a supply line across the yard. Keep cords out of walkways and check them regularly for cracks or chew marks.
After winterizing the main hose, inspect any automatic waterers and spigot freeze protection. Close the interior shutoff valve, drain the outdoor spigot, and make sure foam covers or heat tape are dry and secure. Even a slow drip can freeze into an ice dam overnight.
Build a short daily winter water check into your routine:
- Break surface ice with a rubber mallet or wooden spoon, not a hammer or sharp metal tool.
- Float a rubber ball or clean plastic bottle in buckets to slow ice formation.
- Refill with lukewarm water rather than hot water, which can crack cold plastic.
- Check for frozen spigots, cracked bowls, or animals that can’t comfortably reach the water.
📌 Frequently Asked Questions About Winterizing Garden Hoses
Can I leave my garden hose outside if I drain it completely?
No. Even a drained hose traps small amounts of water in the fittings, cracks, and kinks. That residual moisture can freeze, expand, and split the hose lining. Winter sun and snow also degrade the outer jacket faster, so bring the hose inside a garage, basement, or shed.
At what temperature should I winterize my garden hose?
Start winterizing when nighttime lows consistently drop to 32°F (0°C) or below. Don’t wait for a hard freeze warning. A single cold night is enough to freeze water inside a connected hose or spigot, so disconnect and drain as soon as fall temperatures dip near freezing.
Should I disconnect the hose from the spigot even with a frost-free faucet?
Yes. A connected hose traps water inside the frost-free faucet’s stem and prevents it from draining back into the warmer interior wall. That trapped water can freeze, expand, and crack the pipe inside your house. Always disconnect the hose, even if you have a frost-free or freeze-proof spigot.
How do I store a hose in an unheated garage without freezing damage?
Drain the hose completely, then coil it loosely on a hose reel or wall hook. Keep it off the concrete floor and away from exterior walls, which stay coldest. Covering the coil with an old moving blanket or tarp adds a small buffer, but the key is that no standing water remains inside.
Can I use RV antifreeze to winterize a garden hose used for pet water?
No, don’t use RV antifreeze in any hose that touches pet drinking water. Most RV antifreeze contains ethanol or propylene glycol, and even “non-toxic” formulas are not rated for continuous drinking water use. Food-grade propylene glycol exists, but for garden hoses, thorough draining and dry storage are far safer and cheaper.
Is it safe to use a heated garden hose for outdoor pet water in winter?
Heated hoses can keep the line from freezing, but they do not stop an exposed bowl or bucket from icing over. They also add a chew risk and an electrical cord hazard for pets. If you must run water outdoors in freezing weather, use a heated bucket or bowl designed for animals, and supervise use closely.