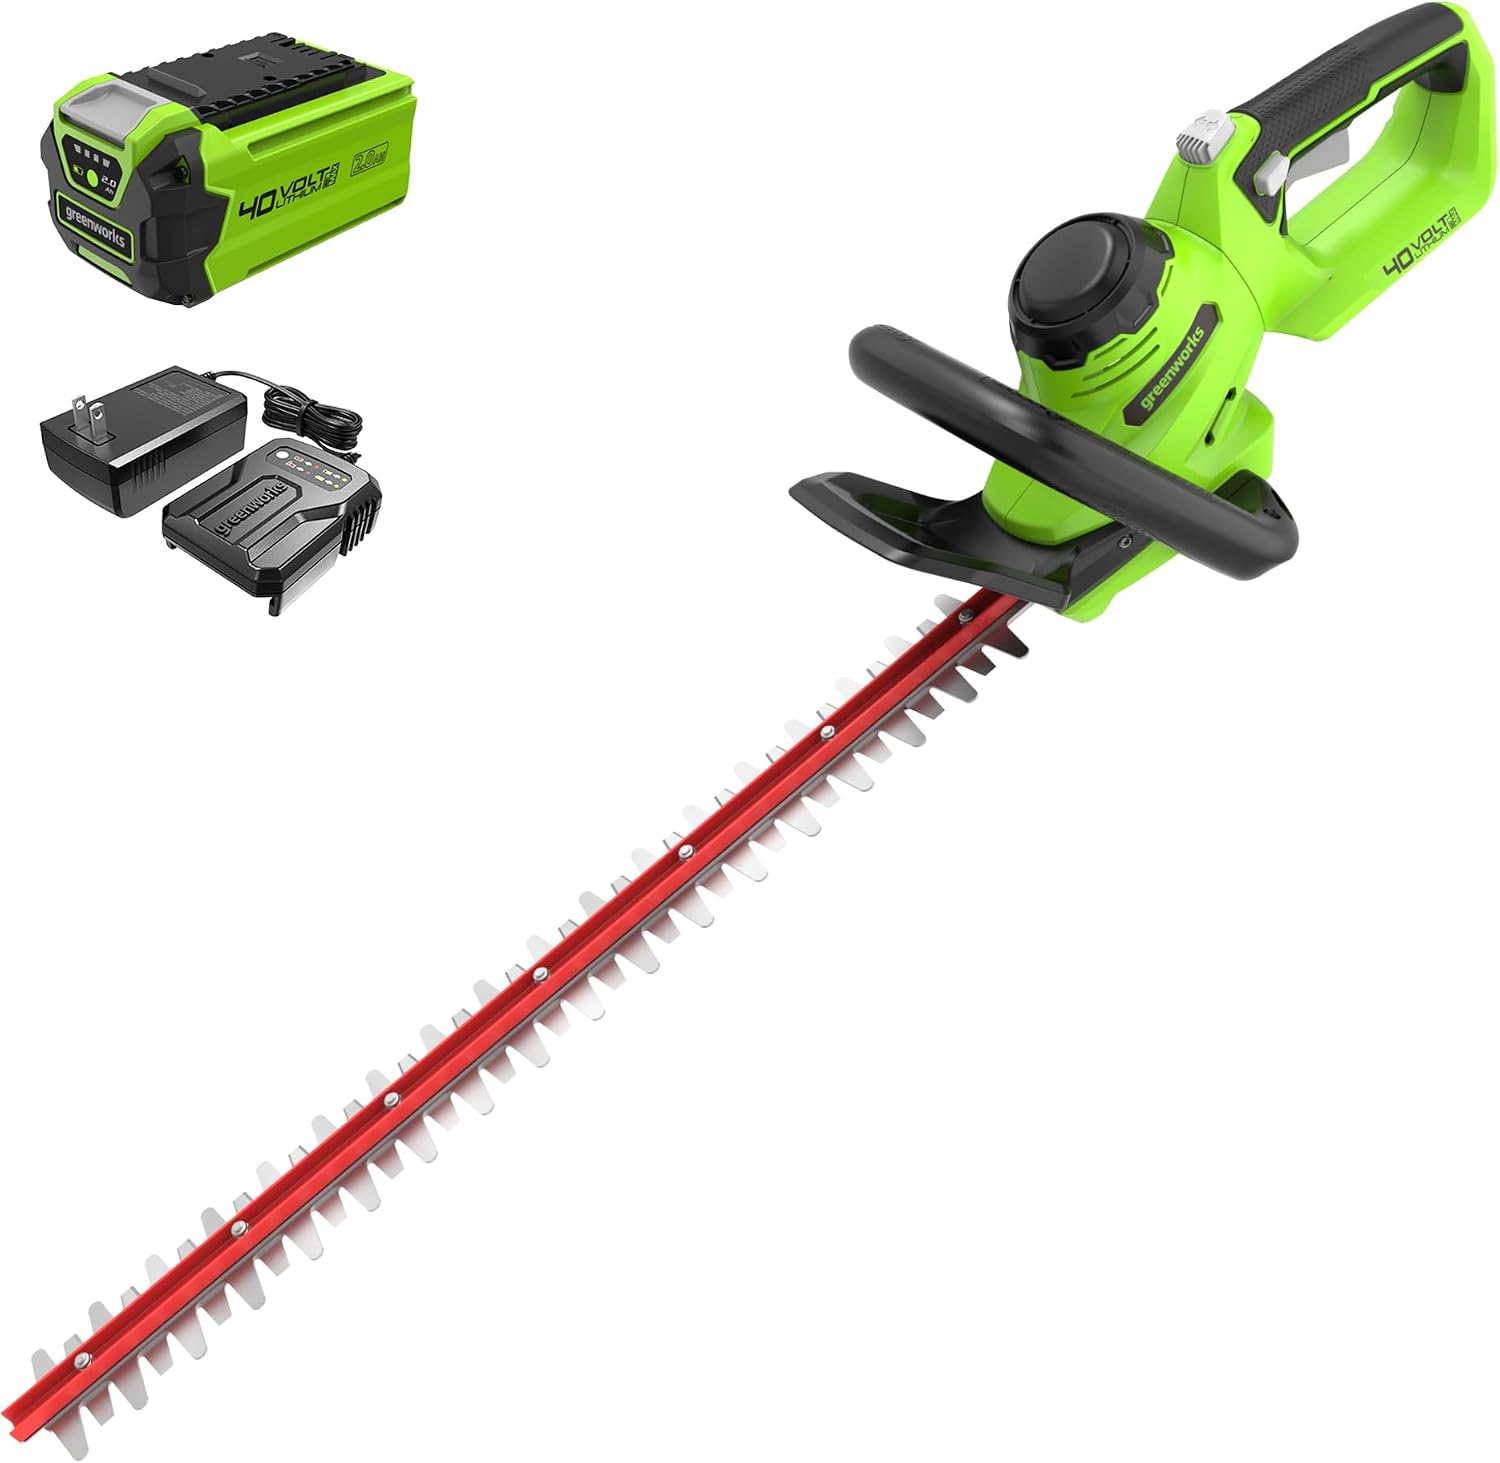
Dull hedge trimmer blades don’t just slow you down — they tear branches instead of cutting them, leaving ragged wounds that invite disease. Learning how to sharpen hedge trimmer blades is the fastest way to restore clean cuts, reduce arm fatigue, and extend the life of your tool.
You don’t need a workshop full of gear. A few simple tools and about 20 minutes of careful work per blade will do it. Below I’ll walk you through exactly what to check, what to use, and how to do it safely — pets included.
🔑 How to Tell If Your Hedge Trimmer Blades Need Sharpening (or Replacement)
Dull blades announce themselves pretty quickly. Ragged or shredded leaf edges are the most obvious clue—clean cuts look flat, while dull teeth tear through foliage and leave brown tips. You’ll also notice the trimmer works slower than it used to, even on soft new growth, and you may feel extra vibration through both handles as the motor strains.
Do a quick visual check before reaching for a file. Here’s what I look for:
- Nicks or dents along the cutting edge
- Rolled-over or flattened spots where metal has worn back
- Surface rust that wipes off versus pitted rust that digs in
- Uneven gaps between upper and lower blades
- Bent teeth that no longer line up with the blade below
Most dull blades can be resharpened with a hand file or rotary tool, and they’ll cut like new again. But if you spot deep gouges, cracked teeth, or bends that change the blade angle, sharpening won’t fix the geometry. That’s when replacement makes more sense. A slightly pitted blade can still work, but heavy rust that thins the metal is also a sign to swap it out.
📌 Tools and Safety Gear You’ll Need to Sharpen Hedge Trimmer Blades
A full sharpening setup doesn’t have to be expensive. I’ve done most hedge trimmer touch-ups with a single flat mill file and a few basic safety items. For a badly chewed-up blade, though, you’ll want a faster alternative.
Here’s the kit I recommend:
- Flat mill file, 8–10 inches, fine-cut. This is the workhorse. It matches the original cutting angle on most dual-sided trimmer teeth without removing too much metal.
- Diamond sharpening stone or fine-grit ceramic rod. Optional, but useful if you want to lightly smooth burs off the flat back edge after filing.
- Rotary tool with a conical aluminum oxide stone or small angle grinder. Helpful for heavily chipped teeth, but heat buildup and accidental reshaping are real risks. I only use these when a file would take forever.
- Bench vise or C-clamp with soft jaws. The blade must stay still. A vise with wood blocks or rubber pads prevents scratches and gives you control.
For personal protection, don’t skip the basics. Cut-resistant gloves with a good grip keep your fingers safe if the file slips. Wear safety glasses—metal filings fly off surprisingly fast. If you’re using a rotary tool or grinder, add hearing protection; even a few minutes of high-pitched grinding can leave your ears ringing.
Finally, clean before you sharpen. A stiff wire brush removes caked-on sap, dirt, and plant residue. Follow with a rag soaked in mineral spirits or a resin remover so the file cuts cleanly. Lock the bar in the vise, and you’re ready to start.
📌 Step-by-Step Guide to Sharpening Hedge Trimmer Blades Properly
Sharpening isn’t complicated, but rushing through prep is how you end up with nicked fingers or a ruined cutting bar. Give yourself a flat, stable work surface and about 30–45 minutes the first time.
- Kill the power and lock the blade. For gas trimmers, pull the spark plug wire off and tape it back so it can’t arc. For cordless or corded models, remove the battery or unplug the tool. Clamp the cutting bar in a vise with wooden jaws, or use a C-clamp and a scrap board to hold it steady.
- Clean the bar first. Spray the blade with a degreaser or citrus cleaner, then scrub between every tooth with a stiff nylon brush or old toothbrush. Remove dried sap and rust with a wire brush or fine steel wool. Wipe it dry. You want bare metal before you pick up a file.
- Match the factory angle. Most hedge trimmer teeth are ground between 30° and 40°. Lay a flat mill file along the existing bevel, not against the flat side. Push the file toward the cutting edge in one direction only; lift, return, repeat. Use two or three firm, consistent strokes per tooth, then move to the next. Count strokes so you remove roughly the same amount from every edge.
- Deburr and lubricate. Run a fine-grit diamond or sharpening stone lightly over the flat backside of the bar to knock off any burr the file raised. Wipe the blades, then spray a light coat of tool oil or silicone lubricant across the moving teeth.
- Reassemble and test. Reconnect the spark plug or battery only after the blade is secured and dry. Run the trimmer for 30 seconds, then shut it off and inspect the cut on a few soft green branches.
Skip the angle grinder or bench grinder here unless you’re experienced — the heat can draw the temper out of thin trimmer blades and leave them dull faster.
📌 Pet Safety Precautions During and After Sharpening
Sharpening hedge trimmer blades kicks up tiny metal filings, and those slivers are exactly what curious dogs and cats want to sniff, lick, or step on. I keep my own terrier locked out of the garage or shed during the entire job. Even a well-behaved pet can wander in, bump the workbench, or lay down where you just dropped a tool.
Treat the work area as off-limits until you’ve finished cleaning. Here’s what I do:
- Close doors or set up a simple pet gate before you start.
- Keep the trimmer, file, and any loose hardware out of tail-whipping range.
- Work over a disposable drop cloth or old newspaper so filings don’t scatter across the floor.
After sharpening, sweep or vacuum the area twice. Metal shavings are magnetic, so a strong magnet wrapped in a paper towel can help pick up stragglers from concrete or workbench tops. Dispose of the cloth and filings in a tied plastic bag, then put it in a covered bin.
Store sharpeners, oils, and solvents in a closed cabinet or high shelf. I once caught a cat licking a small spot of sharpening oil off a rag. Most lubricants are not pet-safe, even in tiny amounts. Rags also go straight into a sealed container, not left on the floor.
📌 How Often to Sharpen and Simple Maintenance Tips
Most hedge trimmers need sharpening once per season — roughly every 25–30 hours of actual trimming. If you mostly cut soft new growth like boxwood or privet, an annual sharpening is usually enough. Hedges with thicker, woody stems like holly, photinia, or forsythia dull blades faster, so check them twice per season.
Between sharpenings, wipe the blades with a dry cloth after every use to remove sap and green residue. Every 10 hours of operation, spray the blades with a resin solvent or light machine oil. This prevents rust and keeps the cutting action smooth. Avoid heavy grease — it just collects debris.
At the end of the season, do a deeper clean before storage:
- Scrape away built-up sap with a plastic scraper or apply a solvent.
- Coat both blade edges with a thin layer of protective oil.
- For gas models, empty the fuel tank or add a fuel stabilizer.
- Store the trimmer in a dry place with the blade cover on, away from pet access areas.
Lithium-ion battery trimmers should be stored at 40–60% charge, not completely drained. A little preventive oil before winter makes the first spring cut much easier.
❓ FAQ: Common Questions About Sharpening Hedge Trimmer Blades
Can I sharpen hedge trimmer blades without removing them?
Yes, for most light touch-ups you can leave the blade attached. Secure the trimmer so it can’t move, and work on one side at a time with a flat file. Full disassembly isn’t always necessary unless the blade is heavily worn or you’re deep-cleaning the assembly.
What angle should I use when filing hedge trimmer teeth?
Match the factory bevel, usually between 30 and 35 degrees on most dual-action blades. Don’t create a new angle. File in one direction along the existing edge, then lightly deburr the back side with a fine stone or the file itself.
How do I know if my hedge trimmer blade is too far gone to sharpen?
Look for deep nicks in the cutting edge, bent teeth, cracks near the mounting holes, or sections thinner than the surrounding steel. If the blade has been sharpened so many times that the teeth are noticeably shorter, replacement is safer. Persistent binding or rough cuts after a careful filing often points to worn geometry.
Is it safe to use a power grinder on hedge trimmer blades?
I avoid bench grinders for this job. The high speed builds heat quickly and can draw the temper out of the steel, leaving a brittle edge. If you must use a rotary tool, choose a fine abrasive bit, keep the speed low, and use very light passes with frequent pauses.
Do I need to oil hedge trimmer blades after sharpening?
Yes. After sharpening, wipe the blade clean and apply a thin coat of light machine oil or a spray lubricant along both edges. Oil the pivot points too. This reduces friction, prevents surface rust, and helps the sharpened edge hold up longer between sessions.
1 thought on “How to Sharpen Hedge Trimmer Blades: A Complete Step-by-Step Guide (2026)”