
A garden hose leak always seems to appear at the worst time—right when you’re trying to water tomatoes before a heat wave. The good news is that how to repair garden hose damage is usually a quick DIY job, not a reason to toss a $40 hose. Most splits, pinholes, and leaky ends come from kinks, freezing, or cheap connectors wearing out.
I’ve saved several hoses with simple cuts and couplers, and I’ll walk you through the exact steps, from diagnosing the leak to choosing pet-safe materials. You’ll need about 20 minutes and a few basic tools.
🔑 How to Repair a Garden Hose Leak: Step-by-Step DIY Guide
🛠️ Common Garden Hose Problems and Their Causes
Most hose failures don’t happen all at once. They start as tiny drips, soft spots, or a coupling that won’t thread on smoothly. Spotting the cause early helps you choose a repair that actually holds.
- Pinhole leaks and splits. Sharp mulch, gravel, or a misplaced shovel creates small punctures. Freezing water left inside the hose can split the inner tube. Years of direct sun also breaks down vinyl and rubber, causing surface cracks.
- Worn rubber washers. The flat washer inside the female coupling compresses over time. When it flattens, hardens, or cracks, you’ll see drips at the spigot or nozzle connection—even when you crank the fitting tight.
- Kinks and crushed sections. Repeated folding, driving over the hose, or leaving it under a heavy planter can weaken the wall. A hose that stays kinked usually has internal damage, not just a twisted outer layer.
- Corroded or cracked couplings. Brass and aluminum fittings corrode from mineral buildup or fertilizer exposure. Plastic couplings crack when overtightened or dropped on concrete.
Look for these signs before you start cutting. A soft, bulging section often means the inner tube is weakened, while a hard, brittle area points to UV damage. A crushed section can reduce flow even if it doesn’t leak.
📌 Tools and Pet-Safe Materials You’ll Need
Before you cut into the hose, gather a few simple supplies. I’ve fixed dozens of garden hoses over the years, and the job goes much faster when the right parts are within reach.
- Hose mender or repair kit — pick one with barbed fittings and stainless steel clamps. This is the quickest fix for a split in the middle of the hose.
- Utility knife or hose cutter — a clean, square cut matters more than you’d think. Ragged edges won’t seat fully and often develop tiny leaks.
- Replacement rubber washers and O-rings — these small parts inside your couplings fail before the hose itself. Keep a variety pack in your shed.
- Pet-safe silicone tape or food-grade sealant — if pets drink from puddles near the hose, use non-toxic, food-grade silicone tape rather than solvent-based glue. It seals small cracks without leaving harmful residue.
- Warm soapy water — brush it over the repaired area to check for air bubbles. It’s safer than using chemical leak detectors around animals.
I also keep a small bucket of warm water with a drop of dish soap nearby. It helps slide the hose over a barbed fitting when the rubber is cold and stiff.
📌 Step-by-Step Repair Methods for Leaks and Splits
You don’t need to replace the whole hose. Most splits and pinholes can be fixed in under 15 minutes with a sharp utility knife, a barbed mender, and a screwdriver.
- Cut out the damaged section. Use a sharp utility knife or hose cutter to make two clean, straight cuts at least 1 inch beyond each side of the split. Ragged edges leak, so go slow and keep the cut square.
- Insert a barbed hose mender. Push the barbed ends into both cut ends of the hose. For 5/8-inch hoses — the most common size — use a 5/8-inch barbed mender. Warm the hose ends in hot water for 30 seconds if they feel stiff.
- Secure with stainless steel clamps. Slide a stainless steel hose clamp over each end before you insert the mender, then position the clamps over the barbs. Tighten with a screwdriver until snug but not so tight that you crush the hose.
- Wrap pinhole leaks with self-fusing silicone tape. Clean and dry the area, then stretch the tape and wrap it over the pinhole, overlapping each pass by half. Self-fusing pet-safe silicone tape bonds to itself and stays flexible without sticky residue.
- Fix weeping connections. If water seeps at the spigot or nozzle, tighten the existing clamp first. If that doesn’t stop it, cut 1 inch off the hose end and reattach the fitting with a fresh stainless steel clamp.
Test the hose at full pressure before you put it away. A slow drip can still soak a planter or create a slip spot.
🔑 How to Fix a Leaky Hose End or Connector
Most leaks at the hose end aren’t the hose itself. The problem is usually a worn coupling, a flattened washer, or a frayed hose end that no longer presses tightly against the fitting. You can fix all three in about ten minutes with a repair coupling.
- Remove the old fitting. Unscrew the existing coupling or repair fitting by hand. If it’s stuck, use pliers with a rag around the metal to avoid chewing up the threads. For crimped fittings, cut the hose about 1 inch behind the crimp ring.
- Trim the hose end clean. Use a sharp utility knife or hose cutters to make a square cut. Never leave a frayed or slanted edge, because that creates a gap where water escapes under pressure.
- Push on the new repair coupling. Choose a brass or heavy-duty plastic coupling with a barbed insert. Slide the hose fully onto the barb until the end butts against the coupling shoulder. Then tighten the clamp over the barbed section.
- Check the rubber washer. Inside the female end, look for a flat or cracked washer. Replace it with a standard 3/4-inch garden hose washer, which costs only a few dollars for a pack.
If the hose is stiff, dip the last 2 inches in hot water for 30 seconds. The softened rubber slides over the barb much easier, and you’ll get a tighter seal without fighting it.
🔑 How to Prevent Future Hose Damage
Most hose damage happens when the hose isn’t put away properly. A little seasonal care goes a long way, especially if you live somewhere that freezes.
- Drain the hose completely before temperatures drop. Water expands when it freezes, and trapped ice can split the lining or crack fittings. Disconnect the hose, hold one end up, and walk the length to let gravity push out remaining water.
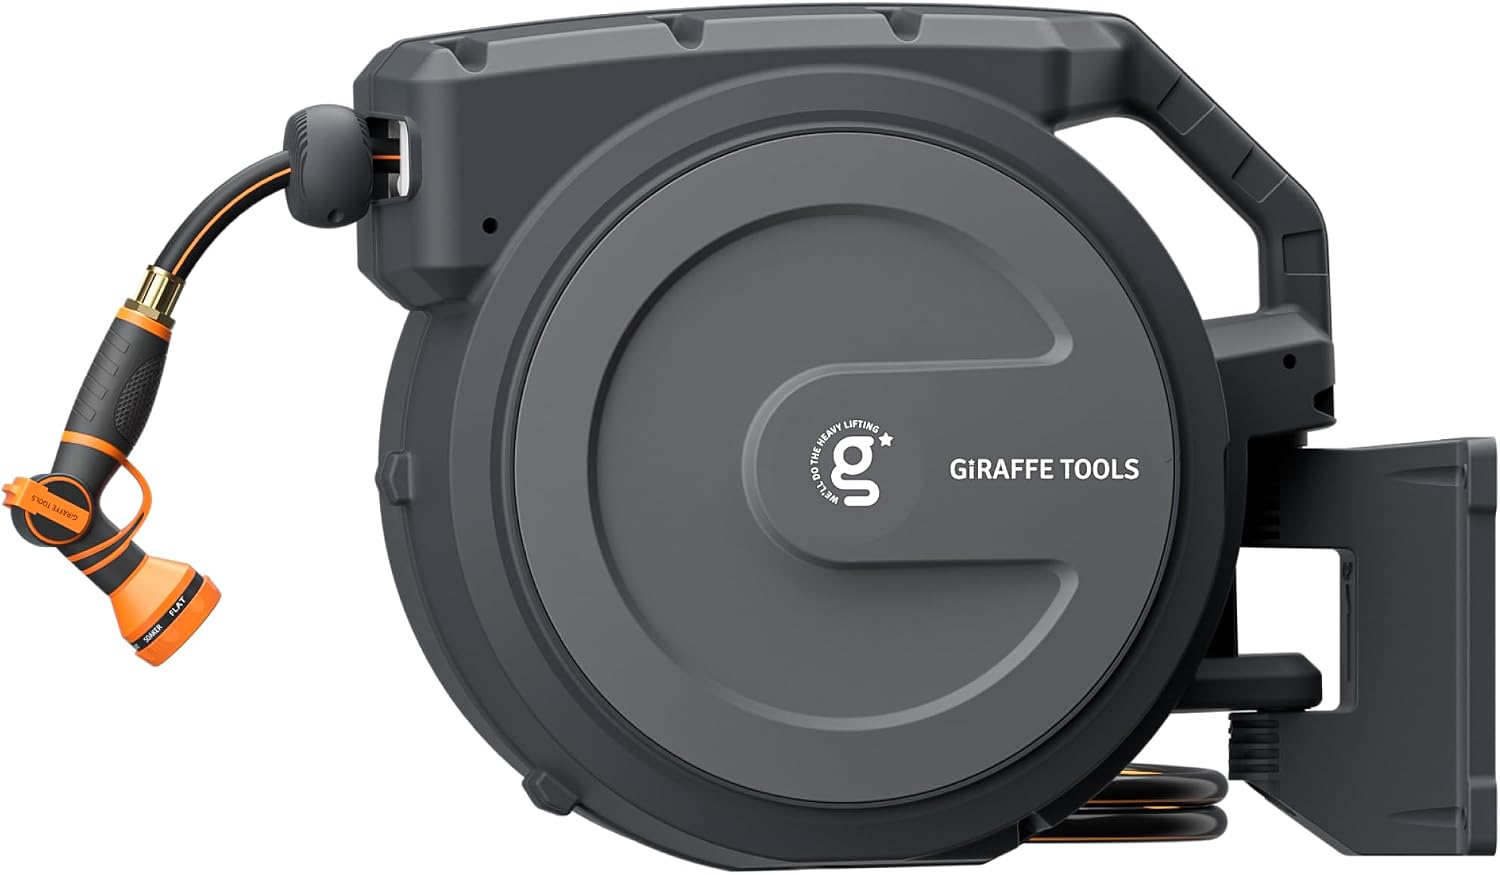
- Store it coiled on a hose reel or wide hanger. Tight hand coils create kinks that weaken the rubber over time. A simple wall hanger or reel keeps the curve wide and takes pressure off connection points.
- Keep the hose off driveways and sharp edges. Running a car over a hose, even slowly, can crush internal layers. Avoid dragging it across concrete edges, brick corners, or metal thresholds. If you must cross a path, use a hose ramp.
- Use a spray nozzle at the end of the hose. A nozzle lets you shut water off at the hose tip instead of at the spigot. That reduces sustained pressure on the hose body and fittings, which lowers the chance of burst leaks.
These habits won’t make a cheap hose invincible, but they’ll add years before you need another repair.
📌 Pet-Safe Garden Hose Maintenance Tips
Pet-safe hose maintenance starts before you reach for a patch. If that hose fills water bowls, rinses muddy paws, or gets used after outdoor baths, every repair part should be drinking-water safe or food-grade. That means no random electrical tape, no solvent-based glue, and no cheap zinc fittings. I check for NSF/ANSI 61 or NSF/ANSI 372 labels on replacement ends and couplers.
Then I follow four simple habits to keep hose water cleaner all season:
- Choose repair materials rated for potable water. Look for “drinking-water safe” on hose menders, clamps, and washers. Food-grade silicone tape works for temporary wraps, but the final repair should use NSF-listed parts.
- Rinse the hose exterior after pet baths. Shampoo residue, dirt, and bacteria collect on the jacket. A quick spray-down keeps that gunk from drying near the nozzle or transferring to your hands later.
- Inspect metal fittings for lead or brass. Older brass couplings can contain small amounts of lead. If water sits in the hose before your pet drinks, swap brass ends for stainless steel or nickel-plated fittings marked lead-free.
- Replace washers and seals annually. Rubber breaks down into tiny particles you don’t want in a water bowl. Swap hose washers every spring, or sooner if you see cracks or black residue.
These steps take a few minutes each month. They matter most if you use the same hose for gardening and pet hydration.
❓ FAQ
Can I use duct tape to repair a garden hose?
Only as a very short-term emergency fix. Duct tape stretches under water pressure, peels in sunlight, and won’t seal a split for long. It might slow a pinhole drip for a day or two, but a proper hose mender or coupling is the only repair that holds.
Are garden hose repair kits safe for pets if they drink from the hose?
Most brass, stainless steel, and plastic fittings are non-toxic, but the real concern is any sealant you add. Use only tape or adhesive labeled safe for potable water. After any repair, flush the hose for 30–60 seconds before letting a pet drink.
How long does a hose repair last?
A correctly installed brass mender or compression coupling can last several seasons, often as long as the rest of the hose. Tape, glue, or patch kits typically last days to weeks. Water pressure, sunlight, and how tight the clamps are will affect longevity.
What is the best way to fix a pinhole leak?
Cut out the pinhole section and splice the hose with a barbed hose mender and two stainless steel clamps. It’s more work than wrapping tape, but it’s the only fix that holds under normal water pressure. Self-fusing silicone tape can work temporarily if you can’t cut the hose.
Do I need to replace the washer when my hose leaks at the spigot?
Yes, check the rubber washer inside the hose fitting first. It’s the most common cause of spigot leaks and costs only a few cents. If a fresh washer doesn’t stop the drip, inspect the spigot threads and add a couple wraps of plumber’s tape.
Can I repair a hose that freezes and splits?
Usually, yes. Cut out the split section and install a hose mender or union. If the hose has multiple frost cracks or feels brittle and stiff, replacement is safer—old rubber tends to split again nearby. Always drain hoses before winter to prevent this damage.
1 thought on “How to Repair a Garden Hose: DIY Fixes for Leaks & Splits”