
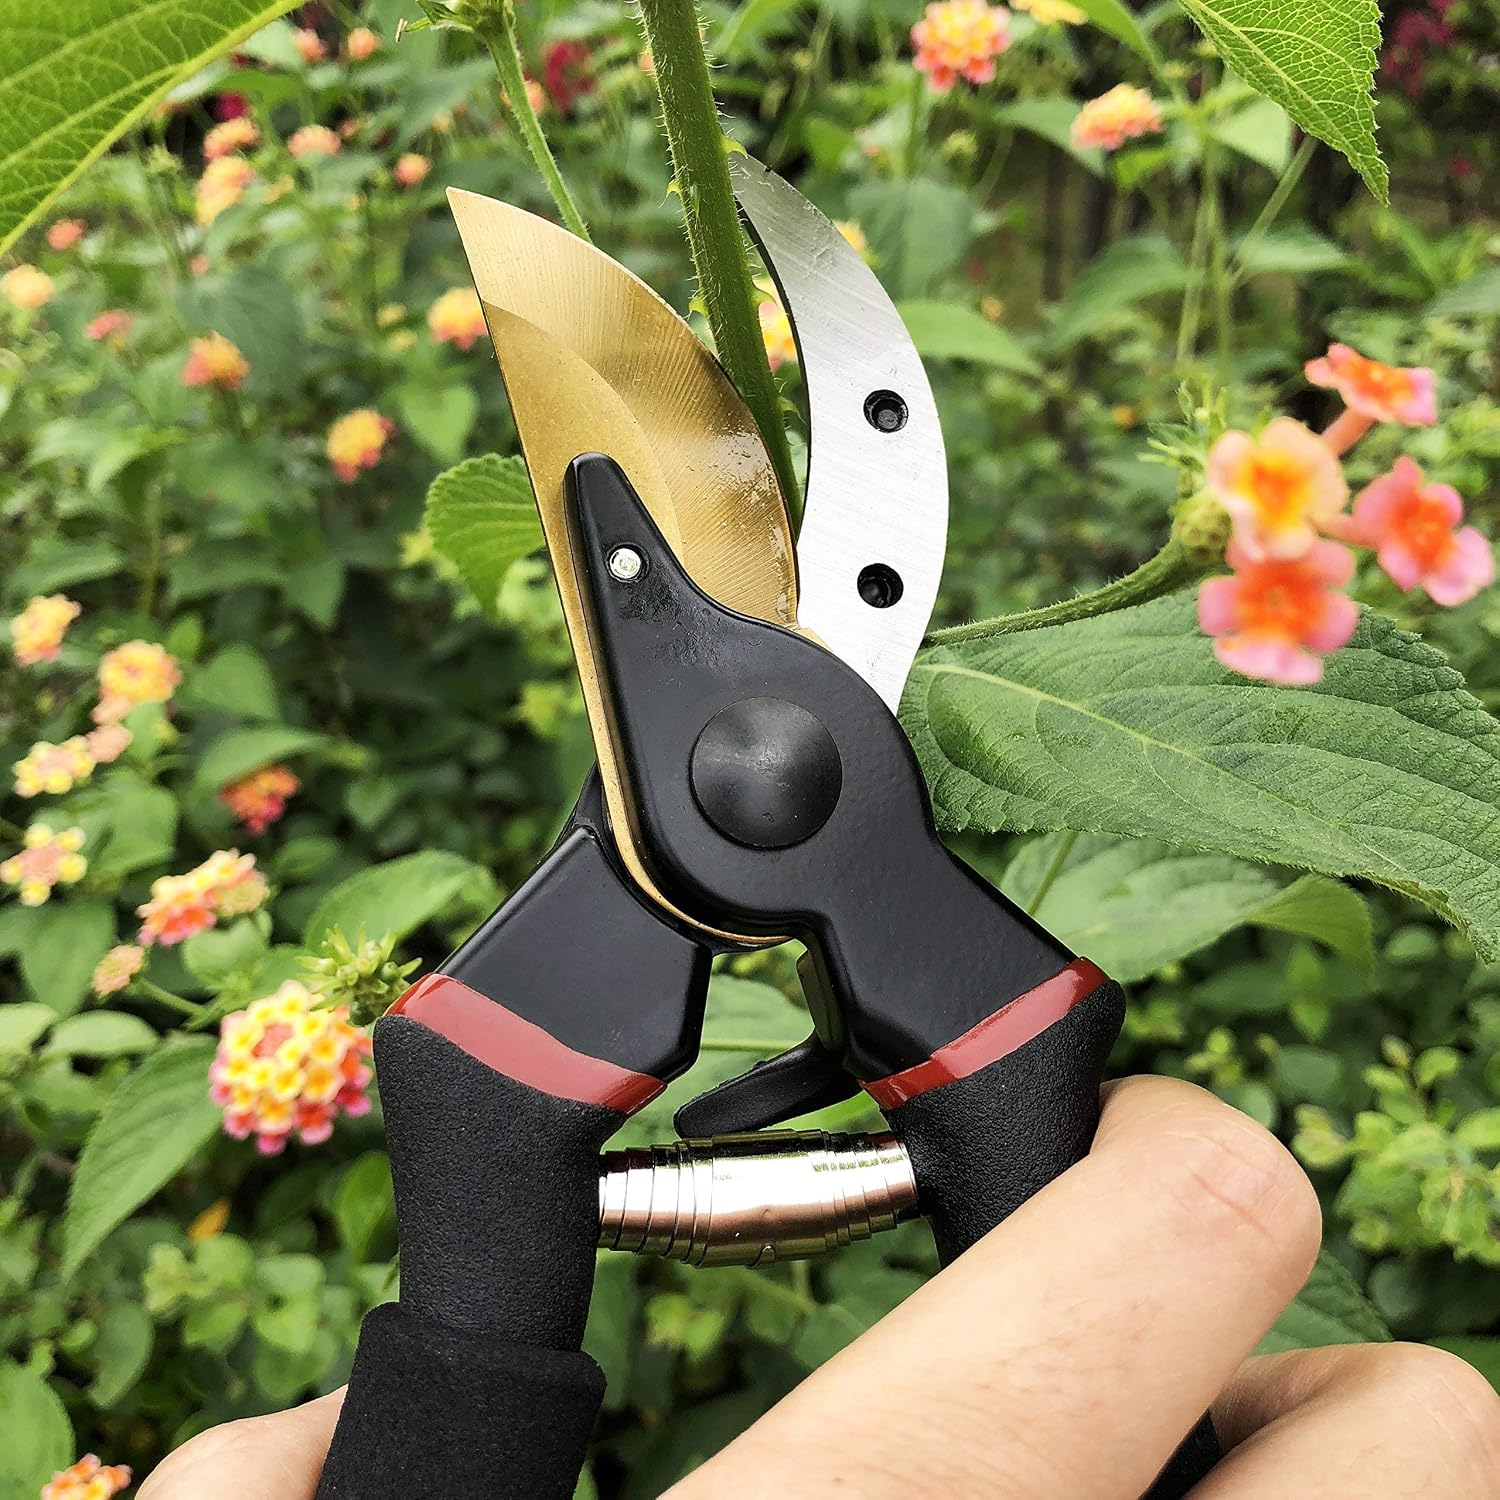
You’ve felt it: the shears bite down on a stem and instead of a crisp snip, they crush it. That’s the moment you need to learn how to sharpen pruning shears.
Dull blades don’t just make pruning harder—they tear plant tissue, leaving ragged wounds that invite disease and slow healing. If you share your garden with pets, those damaged stems can also dry into sharp splinters that snag curious paws.
I used to replace pruners every season until I learned to sharpen them properly. With a few basic tools and the right angle, you can restore a keen edge in under 15 minutes. The key is respecting the original bevel and avoiding over-sharpening. Here’s exactly how I do it.
📌 Why Sharp Pruning Shears Matter for Your Garden (and Your Pets)
Sharp bypass blades don’t just make pruning easier—they give plants a clean wound that seals quickly. A smooth cut exposes less damaged tissue, so the plant loses less sap and forms a callus faster. That rapid healing is your first defense against fungal spores, bacterial blight, and wood-boring insects.
Dull shears do the opposite. Instead of slicing, the edge crushes and tears the stem, leaving ragged fibers and a larger injured area that stays damp longer. That wet, frayed tissue is an open door for disease. If you’ve ever seen blackened tips or cankers spreading from a pruning cut, a blunt blade was often part of the problem.
Pet safety matters here too. Jagged cuts can leave sharp, splintered points on shrubs, roses, and low branches. A curious dog sniffing along a path or a cat brushing against a stem can easily get poked in the nose, paw, or ear. Clean cuts leave smoother branch ends, which reduces that risk in gardens where pets roam.
You’ll know your shears need sharpening when:
- Cuts leave stringy, crushed edges instead of one smooth slice.
- Stems bend, slip, or jam in the jaws instead of being severed cleanly.
- You need extra force or two hands to cut small green stems.
- Your hand, wrist, or forearm feels fatigued after a short pruning session.
Sharpening restores the tool’s edge and helps protect the plants—and animals—moving through your garden.
📌 Tools and Materials You’ll Need to Sharpen Pruning Shears at Home
You don’t need a drawer full of specialty tools. A flat mill file or diamond sharpening stone does the heavy lifting, and a fine-grit honing stone finishes the edge. I’ve sharpened dozens of bypass and anvil pruners with just these basics.
Here’s what I keep in my sharpening kit:
- Flat mill file (8–10 inches) or diamond sharpening stone — restores the main bevel. A single-cut file works best on softer steel, while diamond stones tackle harder blades like Felco or ARS.
- Fine-grit honing stone or ceramic rod — polishes the edge after filing. Look for 400–600 grit to remove micro-burrs.
- Lubricating oil or multipurpose oil — 3-in-1, mineral oil, or camellia oil protect the metal from rust after sharpening. A light coat on the pivot also keeps the action smooth.
- Cleaning brush, rag, and warm soapy water — sap and debris can clog the edge and make sharpening uneven. An old toothbrush works great for scrubbing gunk out of the pivot area.
- Safety gloves and safety glasses — cut-resistant gloves protect your hands from slips, and glasses keep metal filings out of your eyes.
- Screwdriver or wrench (optional) — if the blades are badly nicked or sap has hardened inside, disassembling the shears gives you better access for cleaning and sharpening.
A quick note: you rarely need to take the shears apart for routine sharpening. But if the pivot feels gritty or the blade won’t open smoothly, a few minutes with a screwdriver or wrench makes the job much easier.
📌 Step-by-Step Instructions for Sharpening Pruning Shears Without Damaging the Blade
Sharpening pruning shears without ruining the blade comes down to one rule: only file the factory bevel. Most bypass shears have a single bevel on the outside edge and a flat back. Treating them like a kitchen knife rounds the edge and kills the cut.
- Disassemble or secure the blade. If your shears have a central nut or screw, take them apart so you can work on the blade alone. Can’t separate them? Clamp the handle in a vise with the blade facing up. Wrap the jaws in a rag to avoid scratches.
- Clean first. Sap and dirt will clog your file. Scrub the blade with warm soapy water, then wipe it with rubbing alcohol or mineral spirits. For rust, use fine steel wool or a rust eraser. Dry completely.
- Find the bevel angle. Tilt the blade under a bright light until the shiny bevel edge catches evenly. Most bypass shears sit between 10 and 20 degrees. That’s your sharpening guide.
- File the bevel in one direction. Place a diamond file or medium whetstone flat on the bevel. Push away from your body, from the pivot toward the tip, using steady pressure. Lift, return, repeat. Ten to twenty strokes usually restores an edge. Never drag back and forth.
- Hone the flat back lightly. Lay the non-beveled side flat on a fine stone or 600-grit sandpaper over a flat surface. One or two light passes remove the tiny burr created by filing.
- Reassemble, oil, and test. Wipe the blade, reassemble the shears, and drop a bit of 3-in-1 oil on the pivot joint. Make a few cuts on a thin green branch. The shears should bite immediately without crushing.
If the edge still tears paper or a leaf, repeat steps 4 and 5. Don’t over-sharpen. Frequent light touch-ups keep shears healthier than aggressive grinding.
🔑 How to Maintain Pruning Shears After Sharpening to Keep Them Sharp Longer
Maintenance after sharpening matters just as much as the sharpening itself. You can ruin a fresh edge in one afternoon if you skip basic care. Follow these simple habits and your shears will stay sharp through months of pruning.
- Wipe blades clean after every use. Sap and plant residue harden quickly, forcing the blade to work harder and dulling the edge. A dry cloth handles most buildup; use a little rubbing alcohol for stubborn sap.
- Dry shears completely before storing. Moisture is the fastest route to rust, especially on high-carbon steel blades. Leave them open on a towel for a few minutes if you’ve been cutting damp plants.
- Oil the blade and pivot after cleaning. A few drops of mineral oil, camellia oil, or 3-in-1 oil on the blade and pivot screw reduces friction and blocks moisture. Wipe off excess so it doesn’t attract dirt.
- Store in a dry place with the blades closed. Closed blades protect the cutting edge from accidental nicks and keep the spring under less constant tension. Hang them or use a canvas sheath.
- Sharpen at the first sign of dullness. Don’t wait until the blade crushes stems instead of cutting them. A quick touch-up with a fine file or diamond stone every few weeks saves you from a full regrind later.
A little daily attention is far easier than fixing rust pits or deep nicks. If you store your shears clean, dry, and oiled, you’ll sharpen far less often.
📌 Common Pruning Shear Sharpening Mistakes to Avoid
Sharpening seems simple, but a few common errors can turn a dull bypass shear into a mangled piece of metal. These are the mistakes I see most often, and how to sidestep them.
- Using a power grinder or Dremel that overheats the steel. High-speed friction generates heat fast. If the metal turns blue or straw-colored, you’ve ruined the heat treatment. The edge will dull quickly and may chip. Stick to hand files, diamond stones, or a very slow-speed wet sharpener.
- Filing at the wrong angle. Most bypass shears have a bevel of 20–30 degrees on one side only. Filing flat across the edge rounds it over and reduces cutting power. Match the factory bevel and file away from the pivot.
- Skipping cleaning before sharpening. Sap, rust, and dirt clog the file and create uneven pressure. That leads to a wavy edge. Spend two minutes scrubbing with soapy water or solvent first, then dry the blade completely.
- Over-sharpening the blade. Removing too much metal thins the blade and weakens it. A few light passes are usually enough. You’re honing the existing edge, not reshaping the blade.
- Forgetting to oil after sharpening. Freshly exposed steel is highly reactive. Without a thin coat of oil, it rusts within days, especially in humid climates. Wipe on camellia oil or mineral oil after every sharpening session.
❓ FAQ: Your Pruning Shears Sharpening Questions Answered
How often should I sharpen pruning shears?
Sharpen once or twice per season for typical home use. If you prune weekly or cut woody stems, inspect the edge every few weeks. The real signal is performance: when cuts start crushing instead of slicing cleanly, it’s time. Light touch-ups with a fine stone after a heavy pruning session help stretch time between full sharpening jobs.
What angle should I use to sharpen pruning shear blades?
Match the existing factory bevel—usually 20 to 30 degrees on bypass pruner blades. Lay the bevel flat against the stone, then tilt until the marker line disappears. Keep that angle consistent. Anvil-style pruners only need the cutting blade sharpened; the flat anvil rarely needs work.
Can I sharpen pruning shears with a Dremel or angle grinder?
Yes, but only with light pressure and low speed. High-speed tools build heat fast and can soften the steel temper if you see discoloration. Use a fine grinding stone or sanding drum, and dip the blade in water every few seconds. A hand file or diamond stone is safer for routine maintenance.
Do I need to take pruning shears apart to sharpen them?
Not usually. You can open the handles fully, clamp the shear in a vise, and sharpen the exposed bevel. But taking them apart once a year makes it much easier to clean the pivot, remove sap and grit, and reach the full blade. Note the order of washers and nuts before disassembly.
Can I use WD-40 instead of sharpening oil?
WD-40 works as a cleaner and short-term rust preventative, but it’s not a sharpening oil. It’s too light and dries out quickly. Use mineral oil, 3-in-1 oil, or dedicated honing oil on stones. After sharpening, a drop of 3-in-1 oil on the pivot lasts longer than WD-40.
How do I know if my pruning shears are sharp enough?
Try the paper test. Hold a sheet of paper taut and push the blade through. A sharp edge slices cleanly without tearing. You can also cut a soft green stem or flower stem—if it crushes rather than slices, keep honing. Visually, a sharp edge shows a uniform, shiny bevel with no flat spots or visible nicks.
1 thought on “How to Sharpen Pruning Shears: The Complete 2026 Step-by-Step Guide”